School Management Tutorial
Step-by-step guide to creating and managing schools in LetLMS
How to Create and Manage Schools
This tutorial will guide you through creating your educational institution on LetLMS, from initial setup to advanced management features.
Step 1: Create Your School
1.1 Access School Creation
- Log into LetLMS with your admin account
- **Look for "Add School" button
- Click to start the school creation process
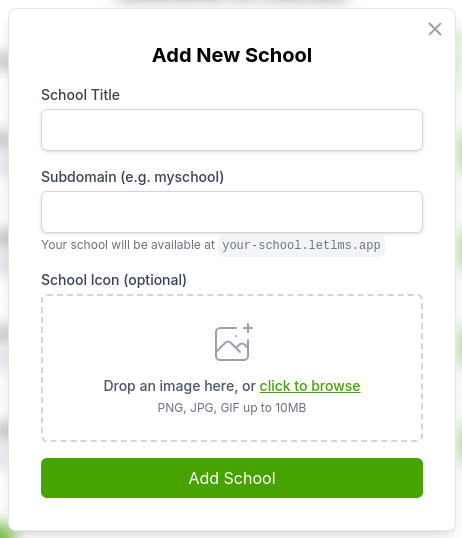
1.2 Fill School Information
-
Enter School Name
- Choose a clear, professional name
- This will appear throughout your platform
- Example: "Riverside High School" or "TechLearn Academy"
-
Select Your Subdomain
- Choose a unique URL identifier
- Format:
yourname.letlms.com - Keep it short and memorable
- Example:
riverside.letlms.comortechlearn.letlms.com
-
Add School Description (optional)
- Brief description of your institution
- Helps users understand your school's focus
- Example: "Premier technology education for grades 9-12"
-
** Upload School Logo** (optional)
- Recommended size: 200x200px
- Logo will appear in the school dashboard and to the learners
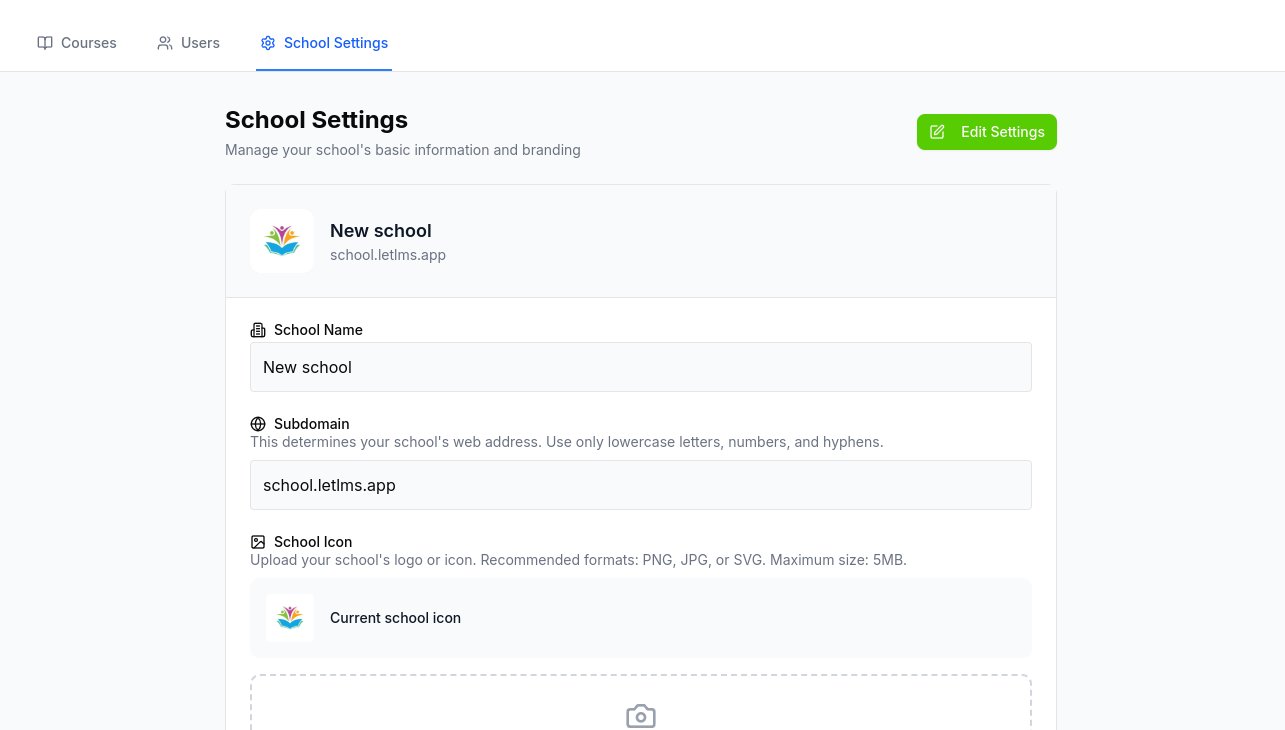
Step 2: Configure School Settings
2.1 Access School Settings
- Go to your school dashboard
- Click on "School Settings"
- Review the settings menu - you'll see various configuration options
-
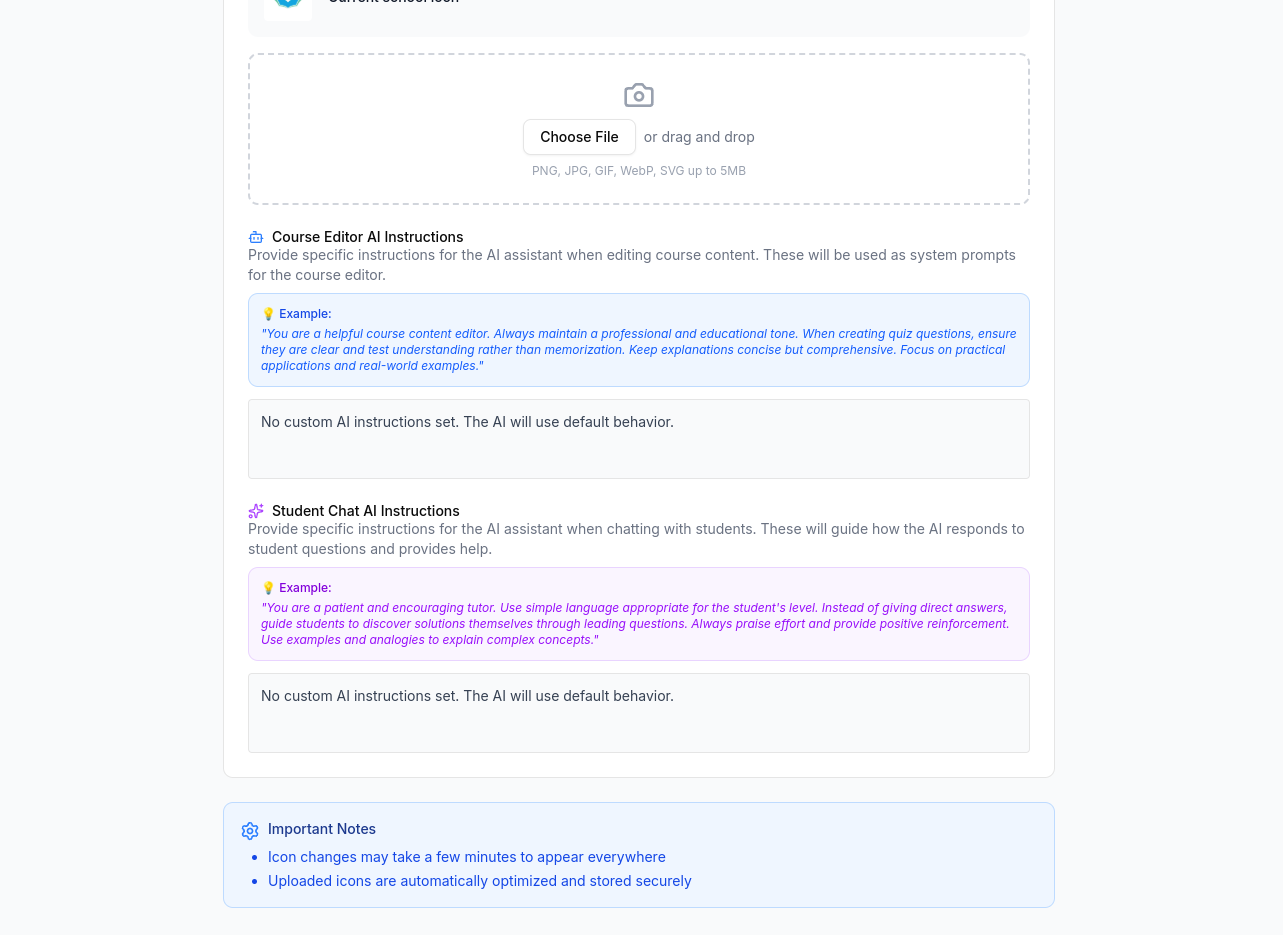
Couse AI instructions (optional)
- Add instructions for the AI to use when creating courses
- This will help the AI to create courses that are more aligned with your school's curriculum
- Example: "Create courses that are aligned with the school's curriculum"
-
Student AI instructions (optional)
- Add instructions for the AI to use when creating courses
- This will help the AI to create courses that are more aligned with your school's curriculum
- Example: "Create courses that are aligned with the school's curriculum"
-
Click on "Save" to save the settings
What's Next?
After setting up your school:
- Create Your First Course: Follow our Course Creation Tutorial
- Add Interactive Content: Learn about Content Types
- Manage Users Effectively: Review User Management Guide
- Track Progress: Set up analytics and reporting
Congratulations! Your school is now set up and ready for engaging learning experiences. Your students and educators can start creating and accessing interactive educational content right away.